- Log In to Your cPanel Account
1.1. Begin by logging into your cPanel account using your credentials.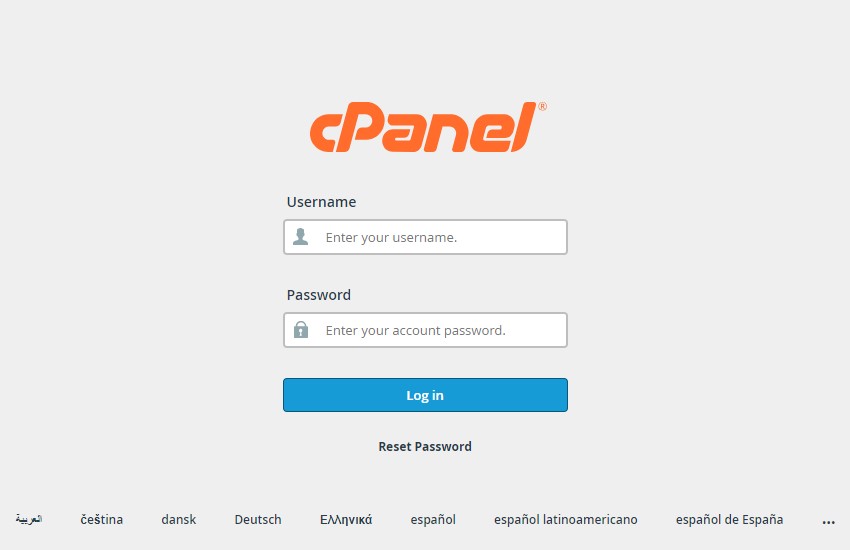
- Locate the Domains Section
2.1. Navigate to the Domains Section: In the cPanel dashboard, find the “Domains” section.
2.2. Select “Domains”: Click on the “Domains” option to manage your domains.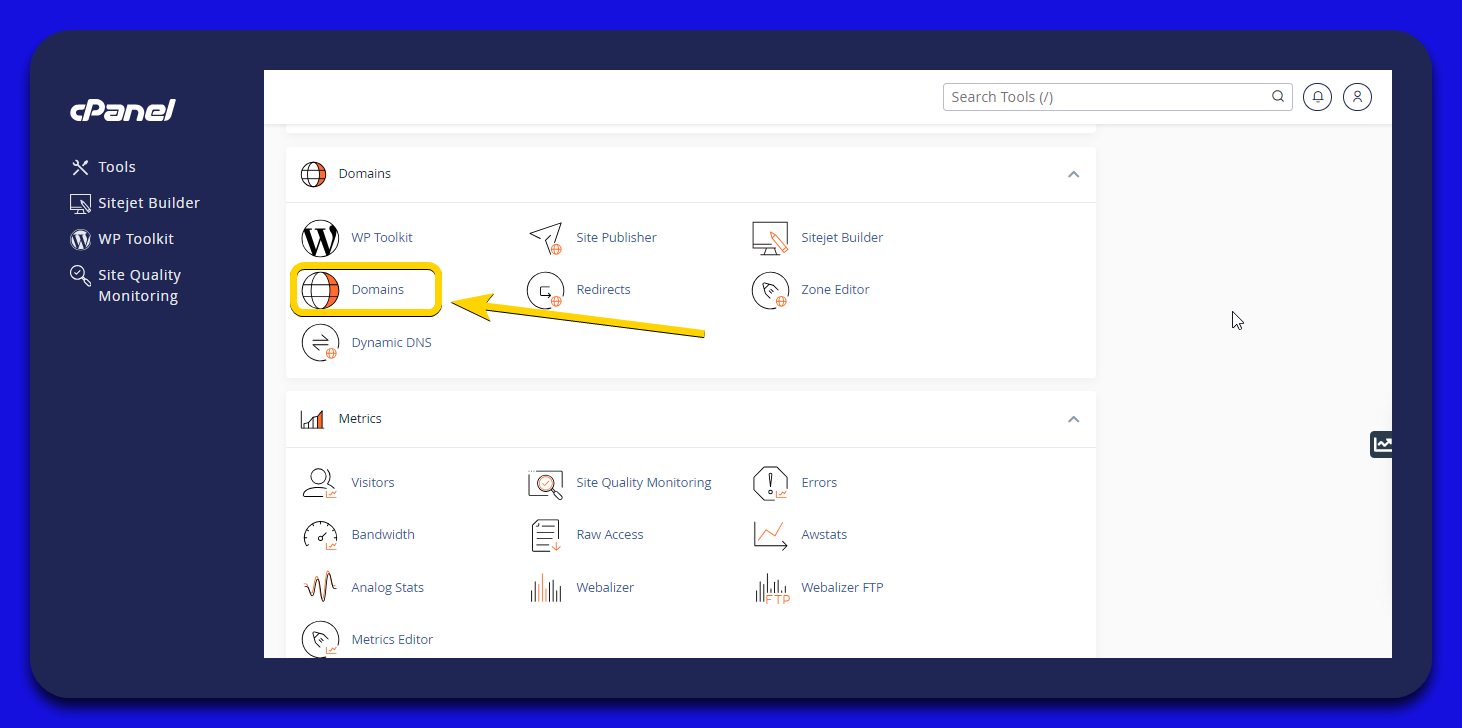
- Create a New Subdomain
3.1. Click on “Create a New Domain”: Find and click the “Create a new domain” button to start setting up a new subdomain.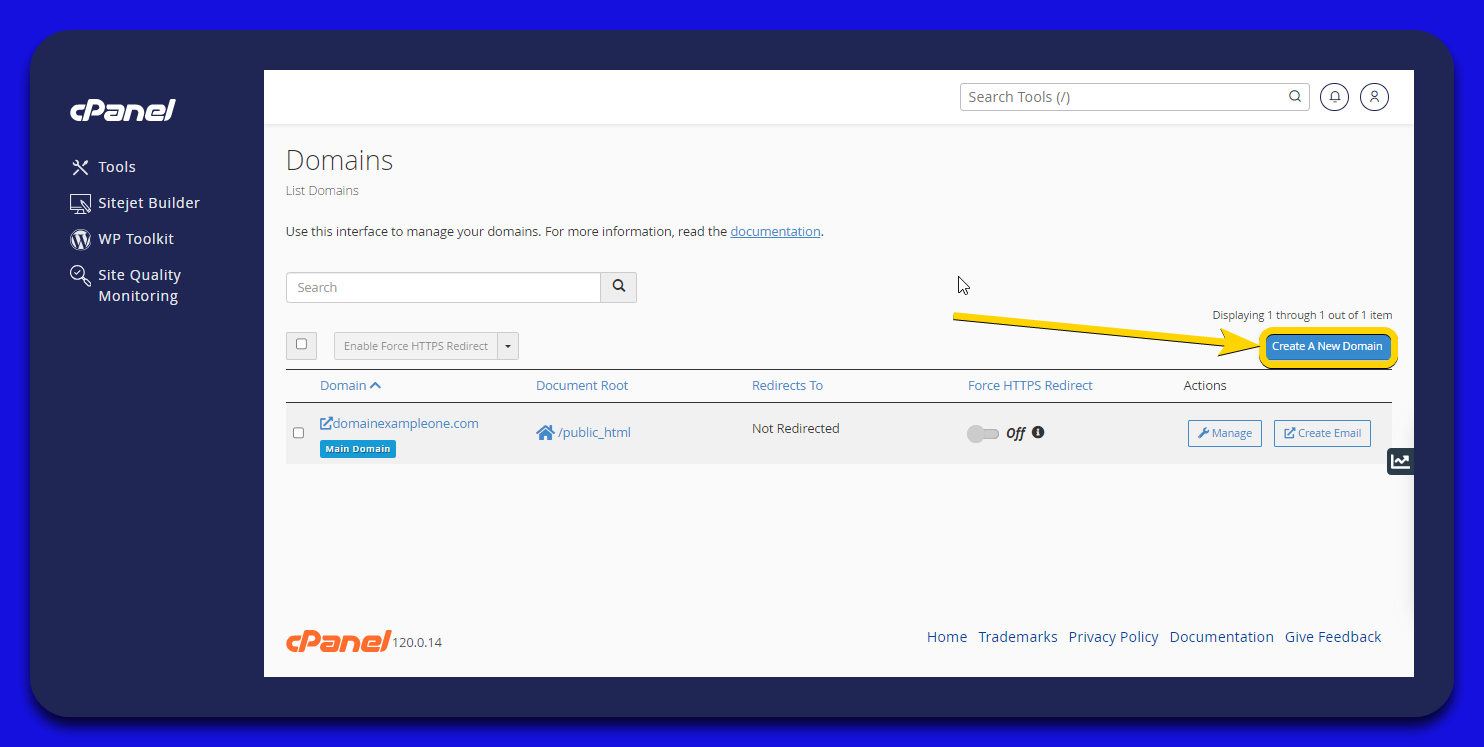
- Provide Subdomain Details
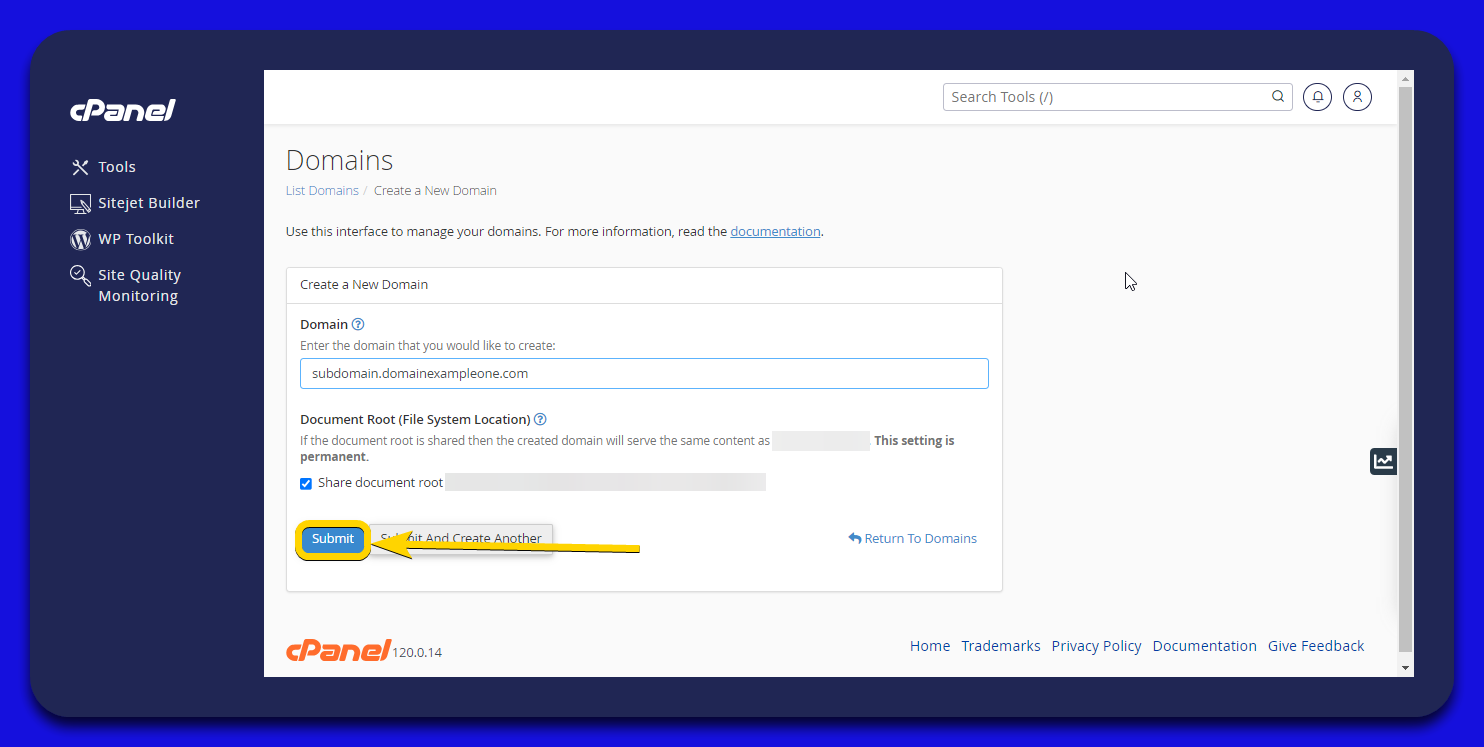
- Domain: Enter the name of the subdomain, including the associated primary domain at the end. For example, if your main domain is domainexampleone.com and you want to create a subdomain called subdomain, you would enter subdomain.domainexampleone.com.
- Document Root: Specify the document root, which is the root directory for the subdomain where you will upload the website files.
Important Note:
Share Document Root Option: Check the option “Share document root…".
Uncheck the option “Share document root…” if you want the subdomain to have a different website than the main domain.
This ensures the subdomain's website is separate from the main domain's site.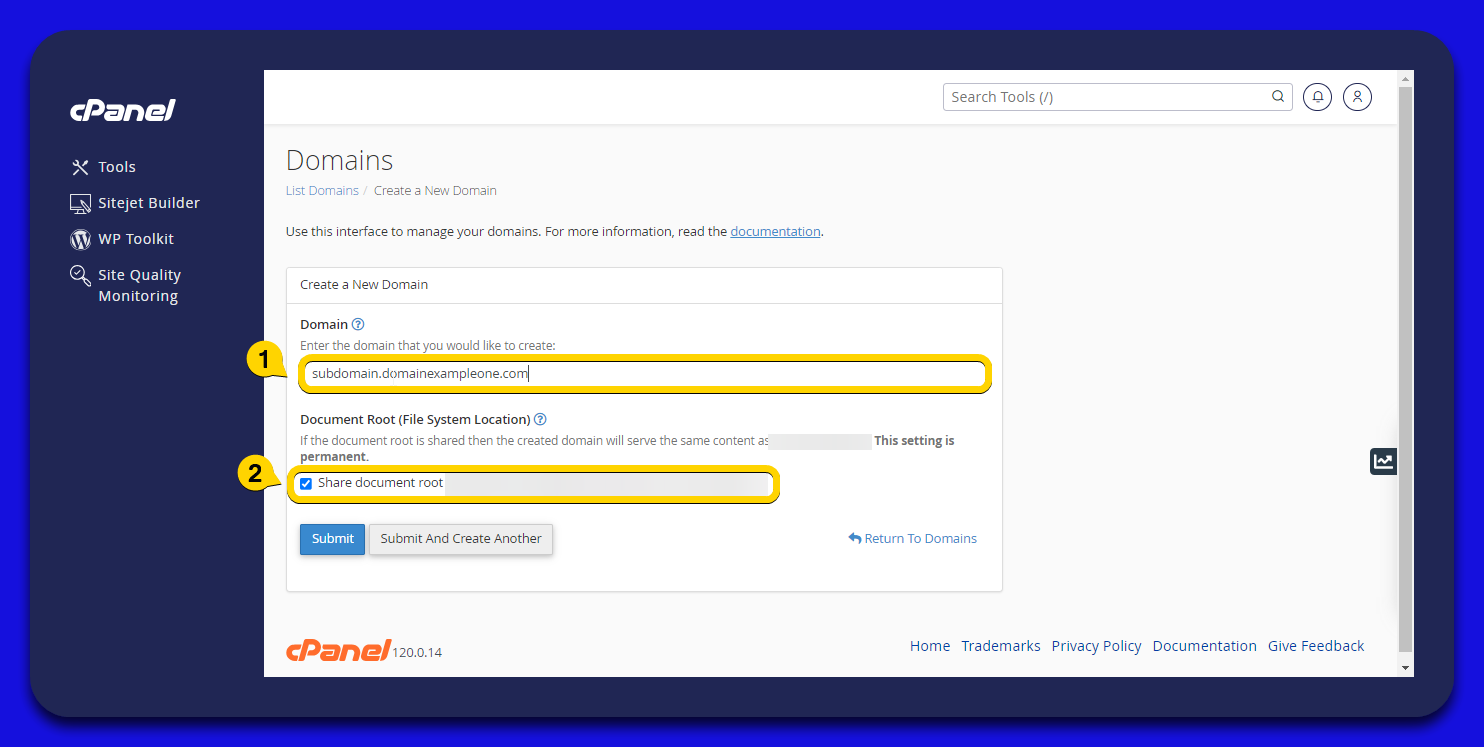
- Finalize Subdomain Creation
5.1. Click on “Submit”: Once you have filled in the necessary information, click the “Submit” button to create the subdomain.
5.2. Subdomain is Ready: Your new subdomain is now created and ready for use.